This guide walks you through creating a 4-layer shadowbox using the same card image four times.
Sample Image
This guide uses the "Forest Guardian Kino" card image for all examples.
"Forest Guardian Kino" is an AI-generated sample card. Feel free to use it for shadowbox practice.
If you don't have a card image handy, try it out with this sample.
Download Sample Image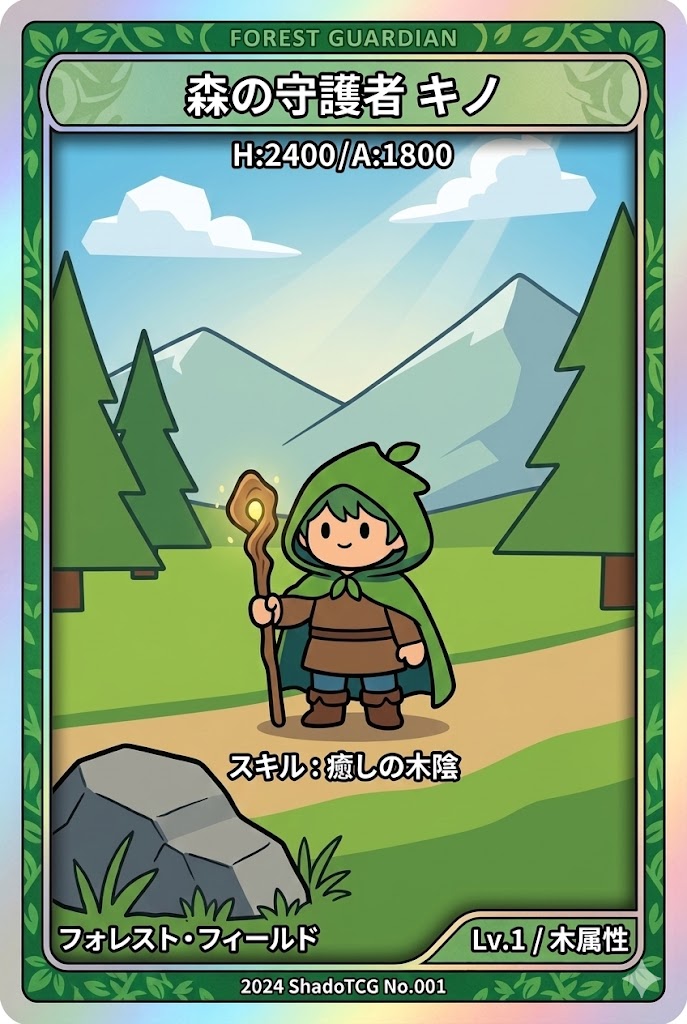
Step 1 Open the Home Page
Go to the app. You'll see an "Upload Image" area at the top and a gallery below.
Step 2 Upload the First Image
Click the "Upload Image" area and select your card image file. A crop dialog will appear after selecting the file.
Step 3 First Layer Added
After clicking Save, a thumbnail of the card appears in the Layer Edit tab. The upload area switches to compact mode, and a spacing slider appears between layers.
Layer Action Buttons
| Tool | Description |
|---|---|
| Duplicate | Copies this layer and adds it as a new layer. This is the standard way to create 2nd and subsequent layers |
| Move Up / Move Down | Changes the order (front-to-back position) of layers |
| Delete | Removes this layer |
Layer Spacing Slider
The slider below each layer controls the depth gap between that layer and the next one in the 3D preview.
Step 4 Duplicate a Layer to Create the 2nd
The standard way to add more layers is to duplicate an existing one using the Duplicate button. Click Duplicate on the first layer to add a copy with the same image.
Second layer added:
Step 5 Duplicate to Create the 3rd and 4th Layers
Keep using the Duplicate button to create the 3rd and 4th layers in the same way.
After adding 3rd layer:
After adding 4th layer (4 layers complete):
Step 6 Edit Each Layer in the Canvas Editor
Click a layer thumbnail to open the canvas editor. Erase unwanted areas to isolate what each layer represents.
Toolbar Tools
| Tool | Description |
|---|---|
| Eraser | Paint over areas to make them transparent |
| Selection | Select a polygon area and erase it at once |
| Move | Reposition the image on the canvas |
| Comment | Add notes that appear in the 3D view |
| Zoom In/Out | Zoom the canvas in or out |
| Undo/Redo | Undo or redo the last action |
Example layer breakdown (4-layer setup)
Step 7 Preview in 3D View
Click the "3D View" tab at the top to see a layered 3D preview of your shadowbox.
How to Use Tilt Settings
In the 3D View tab, click the tilt icon next to each layer button to open the tilt settings panel.
Step 8 Save or Export
Summary
| Step | Action |
|---|---|
| 1 | Open the home page |
| 2 | Select the first image via "Upload Image" |
| 3 | Confirm the crop and save |
| 4–5 | Add 2nd–4th images via the Upload button (↑) |
| 6 | Edit each layer in the canvas editor (erase background) |
| 7 | Check the 3D preview in the "3D View" tab |
| 8 | Save to cloud or export as PDF |